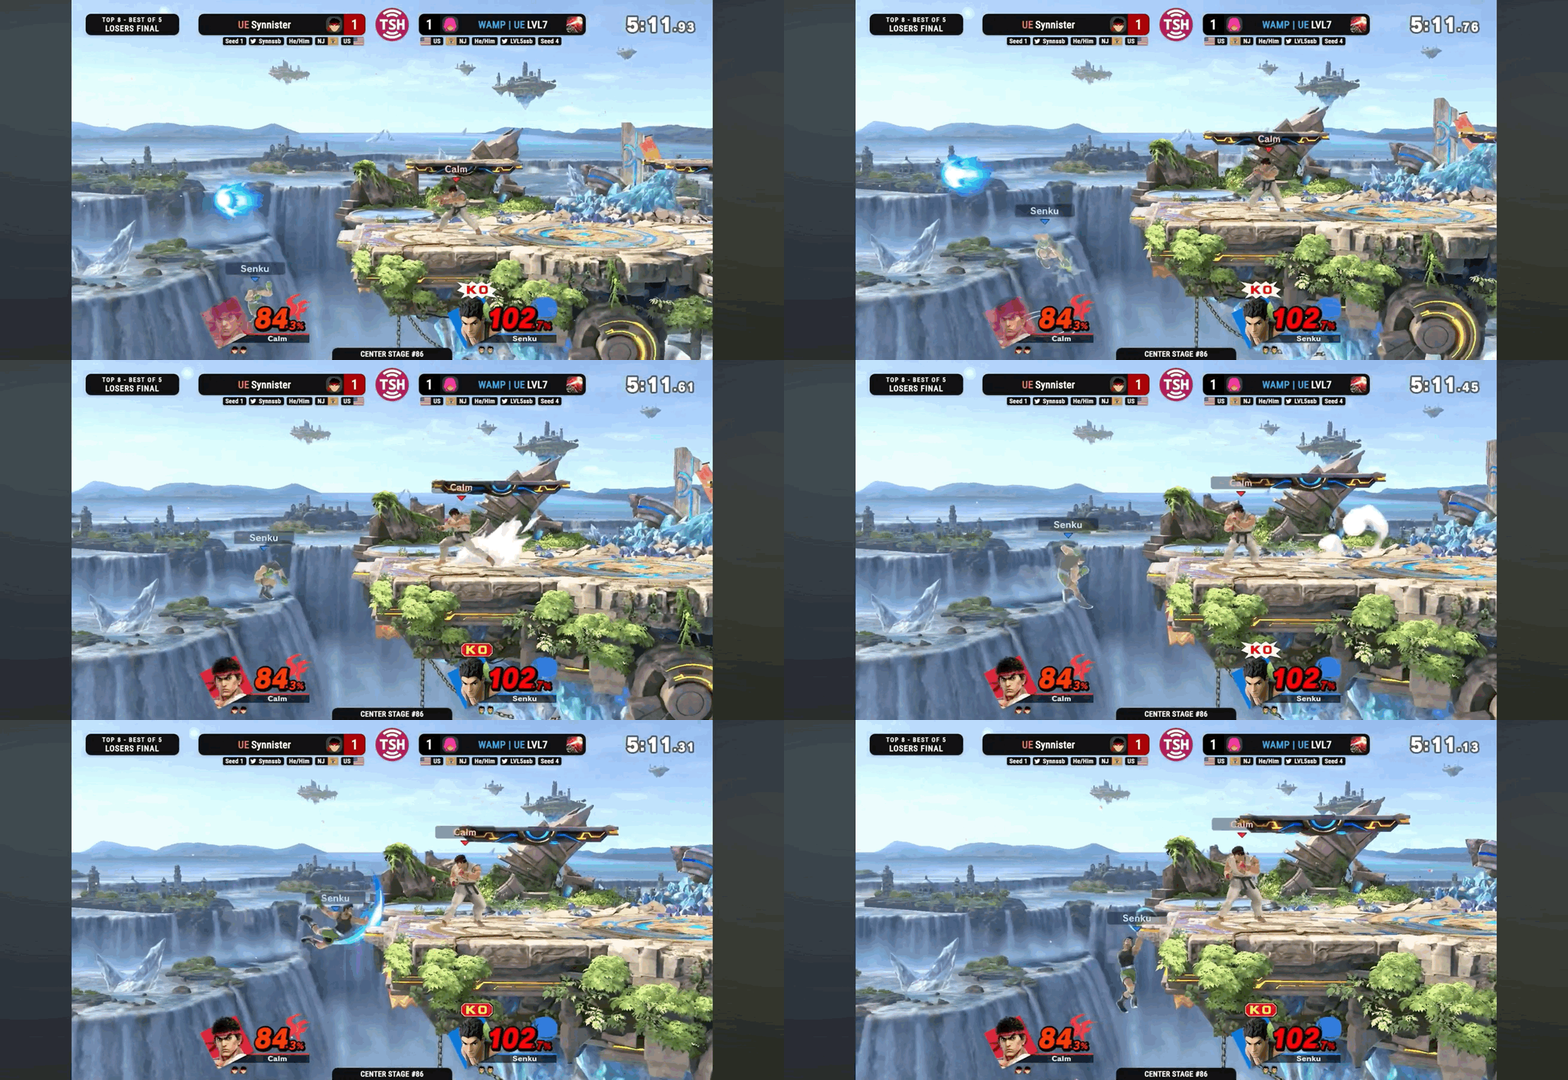
For full playlist of Little Mac Tech videos click here
Tech Chases
Name | How To | |
|---|---|---|
|
| Platform |
Recovery
Off Stage
Name | How To | Uses | Example |
|---|---|---|---|
| Increase distance can snap to ledge with full intangibility | ||
|
| Improves horizontal distance can make back to ledge with |
On Stage
Below details way to recover when above stage (eg hit high above stage, in combo juggle)
Shield Pressure
See link to in-depth video on info below
Hurtbox Shift
Below details was to shift hurtbox so options like OOS grab whiff (usually by moving enemy away while hitting shield)
Move | Example |
|---|---|
| TBD |
| TBD |
| TBD |
| TBD |
Shield Break
Getting consitent shield breaks, want follow below key points
Initial Pressure: Create initial damage on shield via moves that are low commitement/safe on shield
Fault Advantage: Enemy select an option out of initial pressure that gives you advantage (usually inform of whiff caused by hurtbox shift)
Breakpoint: Attack that will break shield (usually caused by enemys many times going for shield after endlag of whiff)
Below is example approach:
Jab 1,2>Utitl(hurtbox shift)Enemy whiff OOS grab
DAFSmahto break shield
Typical initial pressure options:
Jab 2 mix up
Crossup
Spaced tilts
Shield Damage
For Shield Break, damage must sum to 9
Shield Damage | Move |
|---|---|
6 |
|
5 |
|
4 |
|
3 |
|
2 |
|
1 |
|
Shield Break Follow Ups
Below are preferred follow ups when get shield break:
If opponent at
~30%, push enemu to edge of stage, andFully Charged Neutral Bshould killIf opponent at
~TBD%, anywhere on stage,Fully Charged Neutral Bshould killif opponent less than
~30%,Fully Charged DAF-Smash(as is most damage attack and can lead to tech situation)
Common Combos
Ledge Pressure
Ledge Trapping
Below details set ups when enemy is holding ledge.
Edge Gaurding
Below details ways to attack enemys off stage.
Gallery

Figure 1:Ariel Boosted Upper Cut