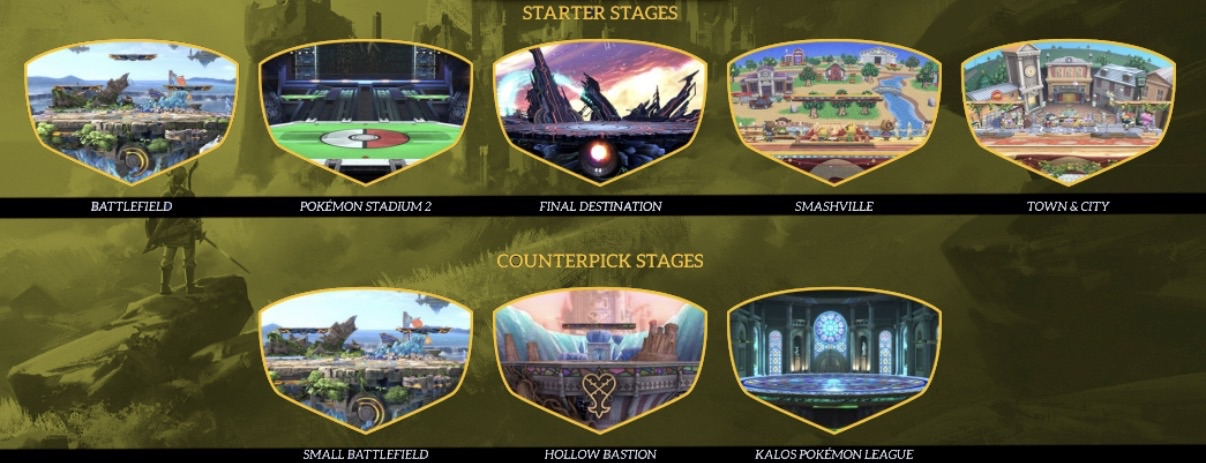
Snapshot
Highest Blastzone (upB kills ~TBD)
Lowest Blastzone (upB kills ~TBD)
Widest Stage (TBD some practical ramification)
Narrowest (TBD some practical ramification)
High Edge Side Plats decrease kill confirm window of side B TBD
Details
Characterstics of stage that are good to understand:
State | Notes |
|---|---|
|
|
|
|
|
|
Data
See Stage Data & Stage Compare for in-depth data/visuals
Helpful Tips
Important items to remember:
Plat Hieght of
26or below, Mac can full hop on plat (see Jump Height). Thus avoiding lag that would get from needing to waveland
Definitions
Term | Definition |
|---|---|
Low Plat | Platform that only requires full hop to land |
Mid Plat | Platform that requires full hop waveland to land |
High Plat | Platform that requires double full hop waveland to land |
Blastzone (Left/Right)
Stage | Center | Ledge | Side Plat Edge |
|---|---|---|---|
|
|
| |
|
|
| |
|
|
|
Blastzone (Top)
Stage | Ground | Low Plat | Mid Plat | High Plat |
|---|---|---|---|---|
|
| |||
|
|
| ||
|
|
Plat Hieght
Stage | Low Plat | Mid Plat | High Plat |
|---|---|---|---|
| |||
|
| ||
|
Plat Length
Stage | Low Plat | Mid Plat | High Plat |
|---|---|---|---|
| |||
|
| ||
|
Plat Position
Stage | Low Plat (Inner) | Low Plat (Outer) | Mid Plat (Inner) | Mid Plat (Outer) | High Plat (Inner) | High Plat (Outer) |
|---|---|---|---|---|---|---|
|
| |||||
|
|
|
| |||
|
|
General
Stage | Width | Center to Ledge | Bottom Blastzone | Meteor Blastzone |
|---|---|---|---|---|
|
|
|
| |
|
|
|
| |
|
|
|
|